Overview
The Logger shows all ActiveMQ/VHMSG messages and saves them all to disk. They are found in \local_tests in the project folder. The Logger also allows the sending of ActiveMQ messages. This component starts automatically when the Launcher starts; this behavior can be turned off in the Launcher.
The Logger's filters can be customized to search through the messages and only display messages that satisfy the filter, save all of the messages or some filtered ones to a text file, import messages, and search through the messages.
The filters are not case sensitive, search the entire message, and can be created as either "Positive" (contains) or "Negative" (does not contain). Advanced filters can be created with up to five terms with varied logic operators joining the terms.
The Logger automatically timestamps all messages and adds a header to every file it saves. The current format for the timestamps is: HourMinSecMillisec; Hour, Min, and Sec are 2 digits and Millisec is up to three digits. Customized tags can be created for each session. These tags will be added to the files and folder; the default tag is 'automated-test'.
See the Javadoc for information about the source code.
Users
To run the Logger, the JLogger.jar file in the dist folder needs to be launched. To launch the JLogger.jar file, double click on the run-logger.bat file in launch-scripts folder (in \tools\launch-scripts) or double click JLogger.jar (inside \tools\logger or \tools\logger\dist or \bin\logger\dist). Please note, the lib folder must be in the same folder as the JLogger.jar.
Using Logger
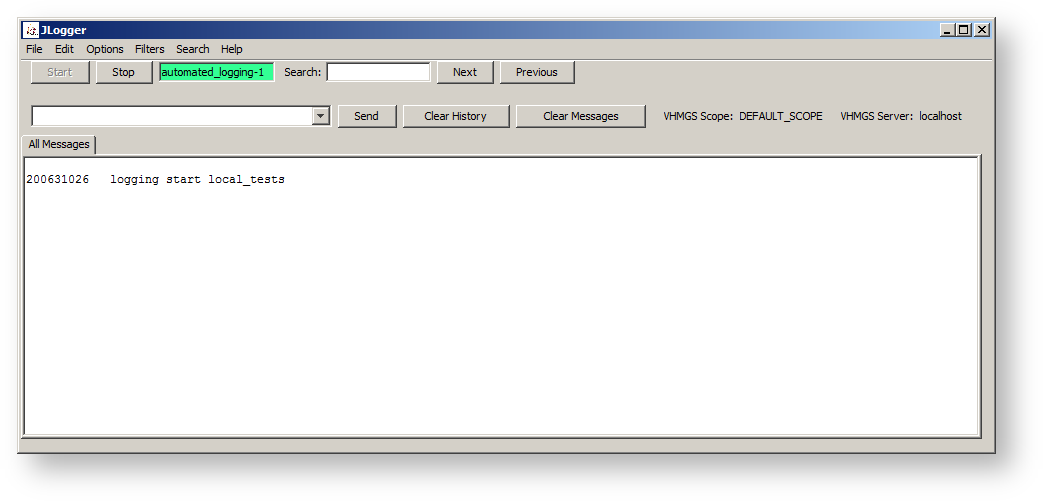
The "All Messages" tab displays every VHMSG message that is sent by any program. This tab cannot be closed. If the "Auto-Scroll" checkbox is checked, the text areas in all of the filters will automatically scroll when they receive a message if necessary. If the "Word Wrap" feature is set, the text in the text areas will wrap to the next line instead of scrolling off to the right. To clear all messages from the logger, go to Edit->Clear Log and choose "Yes" in the dialog box that pops up, this will also clear all messages from all filters. The Logger displays its current status by highlighting the button area green or red depending on whether it is logging or not.
Creating and Removing a Filter
You can create a filter by going to Filters->Create Simple Filter and typing some text into the text field labeled "Filter" and clicking the "Create Filter" button. A new tab will be added with the text you entered as its name. Every message that satisfies your filter will be displayed here. If the "Positive" radio button is selected, you will create a positive filter. The tab name will also be prepended by "[+]". If the "Negative" radio button is selected, you will create a negative filter. The tab name will also be prepended by "[-]". You can remove a filter by selecting the tab, right clicking on the tab and then selecting the close current filter option.
Creating and Removing an Advanced Filter
The Advanced Filter is like a regular filter, but you can enter up to 5 terms. Go to Filters->Create Advanced Filter and a dialog window will come up. Enter your filter terms and if they are positive or negative (this part works the same way as the regular filters). Select whether you want the 'and' or 'or' logical operator: the 'and' logical operator implies that a messages satisfies the advanced filter if it satisfies all of the individual filters, while the 'or' logical operator implies a message satisfies the advanced filter if it satisfies at least one of the individual filters. Note that an individual filter refers to a (term, positive-negative value) pair.. Click the "Create" button to create your filter or the "Cancel" button to cancel. The tab's label is named in the same way that a regular filter except that it uses the logical operator selected to delimit individual terms.. The advanced filter tabs can be closed in the same way as the regular filters.
Saving a Log
You can save "All Messages" by going to File->"[All Messages] Save As...". You can save a filter by selecting its tab and going to File->[Current Filter] Save As... When you click one of the "Save As..." menu items you will be presented with a save dialog window where you can choose where to save your log
Importing a Log
Be sure to choose a file that was created by Logger or there may be some unexpected behavior or results. Any messages currently in the log will be cleared. Go to File->Import Log..., click "yes" if you still want to import a log. Select the file you want to import and click "Import". A file can also be imported at start up (via the command line arguments). If you start the Logger using its jar file, the following is an example of the command for importing a log file: java -jar JLogger.jar C:/logFile.txt
Logging session
To start the logging session, click on the "Start Logging" button. To stop the logging session, click on the 'Stop Logging" button. If the Logger has the logging option enabled, clicking on "Options->Get Logging Path" will show a dialog displaying the current path where the log files are being stored to. Stopping and starting a logging session automatically increments the loggin session number. To change the session name:
- Delete the text in the text field labeled 'Session Name'
- Enter the new Session Name into this text field and press Enter/
To reset the session name go to Edit->Reset Session Name. If you would like to know the default session name before resetting it, go to Options->Get Default Session Name.
Note: If the logger is currently logging, the session name change will not take effect until a new logging session starts.
Searching
Go to Search->By Keyword and a dialog will appear. Enter the text you wish to search for in the text field provided and press Enter. Press F3 to search forward in the text or Shift+F3 to search backwards. Select Cancel when you are done searching to close the search dialog.
Note: If the Autoscroll checkbox is selected when you do a search, Logger will deselect it, and you must select it again when you are done searching if you wish to enable it again. If you press enter when the cursor is in the search text field, the search will restart from the beginning of the document again.
Using Help
To display information about the Logger, click on Help -> About Logger. A new dialog will appear, giving you more information about Logger. You can get additional information by clicking on "Help->How To...". A new dialog will appear giving you information about the most common How To's of Logger.
Developers
Compiling the Logger
You can compile with either NetBeans or with ant
Pre-Compiling:
- Go to \saso\lib\vhmsg\vhmsg-java\ and check if je4util.jar exists there
- If it does not exist, then you have to compile it by navigating to that folder in a command prompt window and typing 'ant' (no quotes). If that doesn't work, then you will need to install ant: http://ant.apache.org
- Go to \saso\lib\java\ and check if it contains nblibraries.properties, and swing-layout\swing-layout-1.0.3.jar
- If it does not exist, then you cannot compile the project
- Make sure that the environmental variable JAVA_HOME is set to your JDK folder before continuing
- You can check the value of JAVA_HOME by running the check-environmental-variables.bat file
- If it is not defined, see the Pre-Running section for instructions on how to set it
Compiling with NetBeans:
- The folder that this file is in (\JLogger), is a NetBeans project folder. You can get NetBeans from http://www.netbeans.org if it is not already installed
- Run NetBeans and go to File->Open Project and select the folder
- Click the button with the hammer picture on it (or Build->Build Main Project or F11)
Compiling with ant:
- Open a command prompt window and navigate to the \JLogger Java folder.
- Type 'ant' (no quotes)
Message API
Sends:
- vrComponent
- vrProcEnd
- logging
Receives:
- vrAllCall
- vrKillComponent
- logging
Known Issues
FAQ
See Main FAQ for frequently asked questions regarding the installer. Please use the Google Groups emailing list for unlisted questions.