Page History
...
Loading an existing scenario
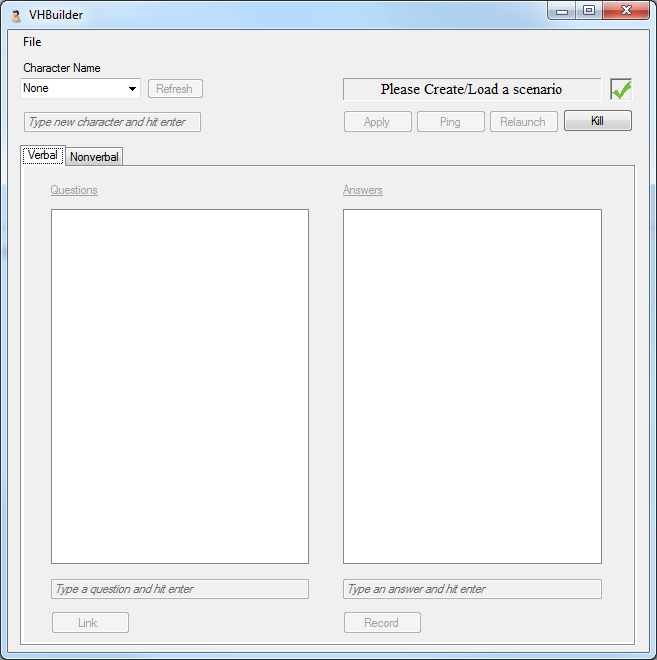
- Launch the vhBuilder VHBuilder application. It will load up with a message ' Please Create/Load a scenario' as shown below

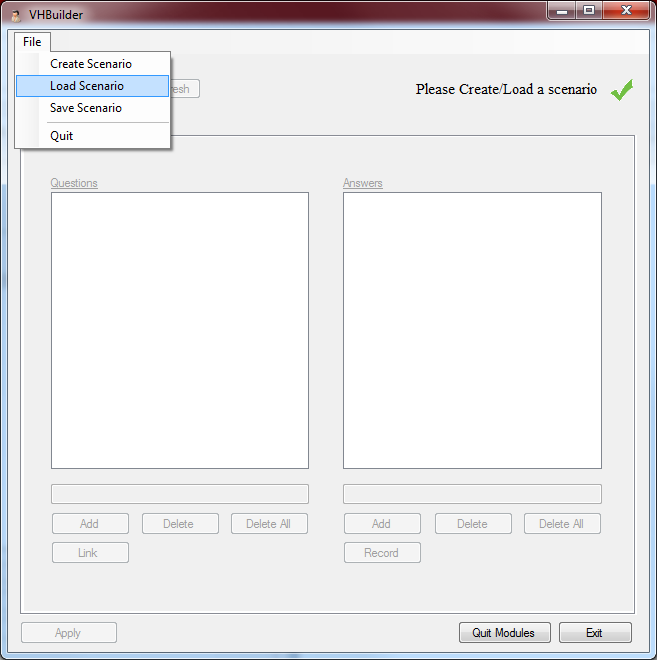
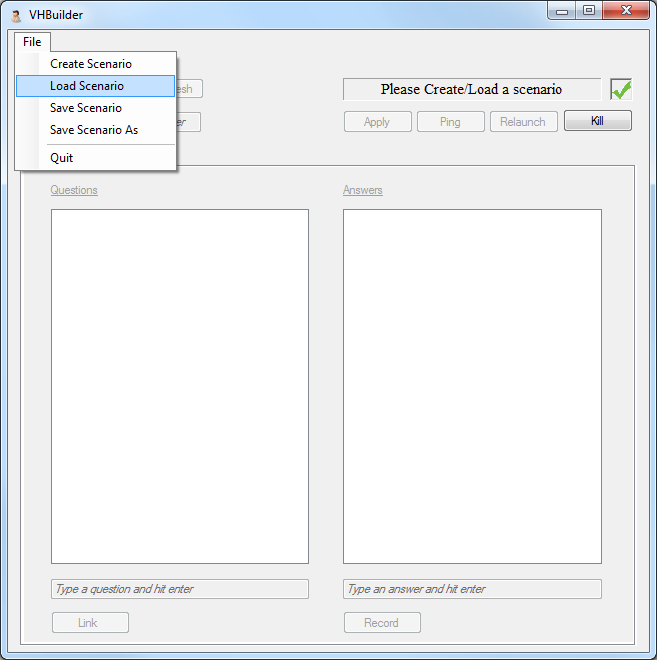
2) Click on the File menu option on the top left and select 'Load Scenario' as shown
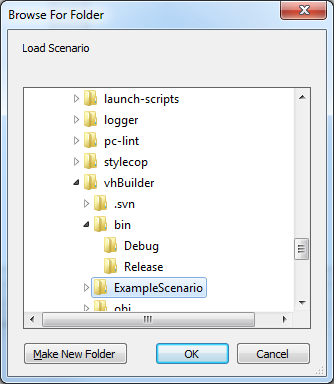
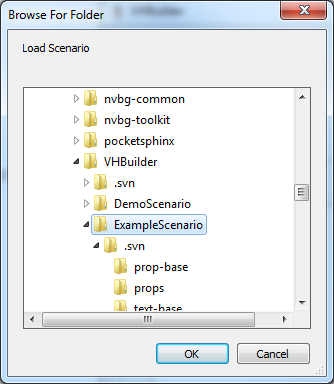
3) A dialog box will pop up as shown below prompting you to select an existing scenario. Select a previously saved scenario folder to load up an existing scenario. e.g. In the toolkit trunk, under toolsdata/vhBuilderVHBuilder, there is an existing scenario called ExampleScenario. Please select this as shown
4) On selecting the example sceanario scenario and clicking 'OK', you should see a few windows show up and minimize. This should include the NVBG, NPCEditor, VHTSpeechRecorder, AcquireSpeech, ElvinParser, PocketSphinx-sonic-server and TTSRelay.
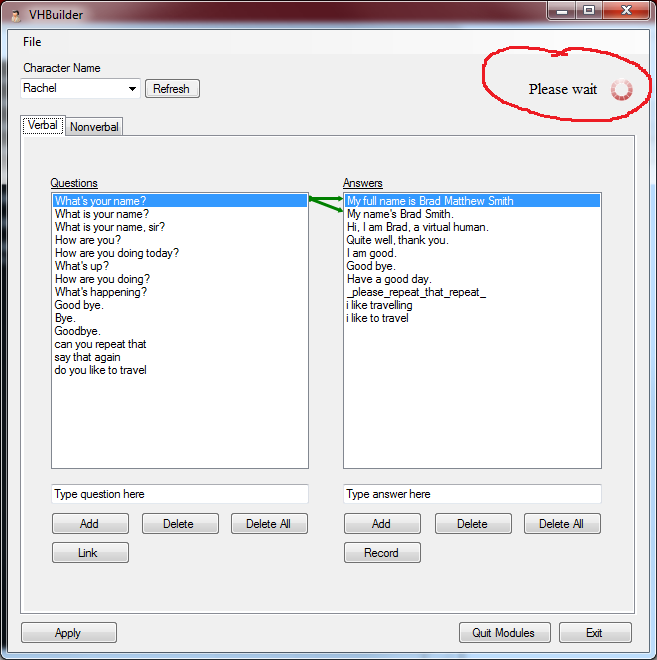
During this interval, the tool should indicate that it is busy loading. It does this using a 'wait' image on the top right as shown below
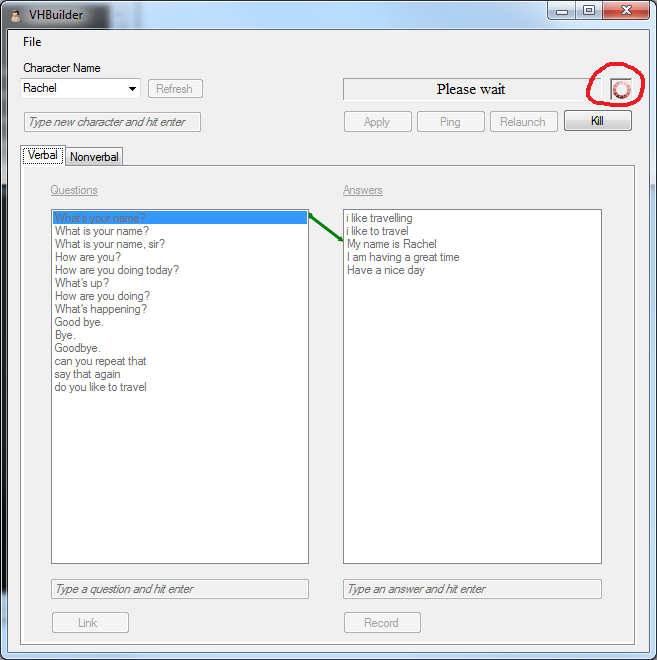
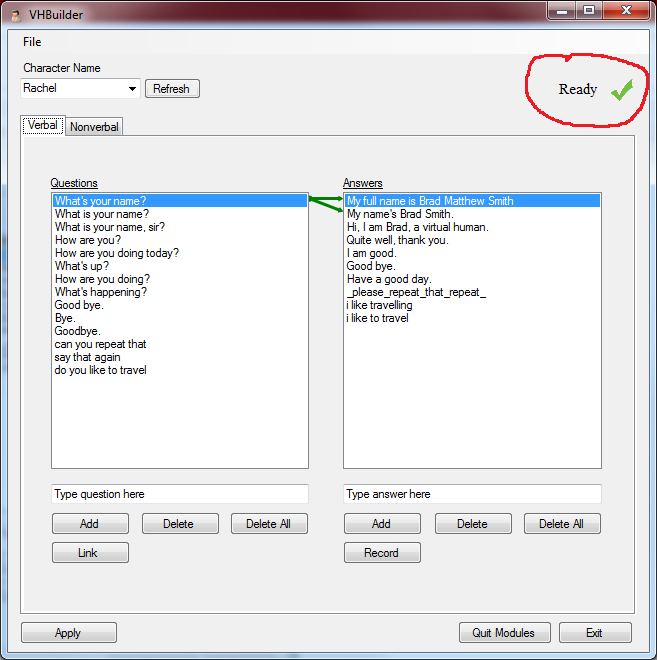
5) Once the scene is loaded and all the components are initialized, the tool will indicate that it is ready as shown below.

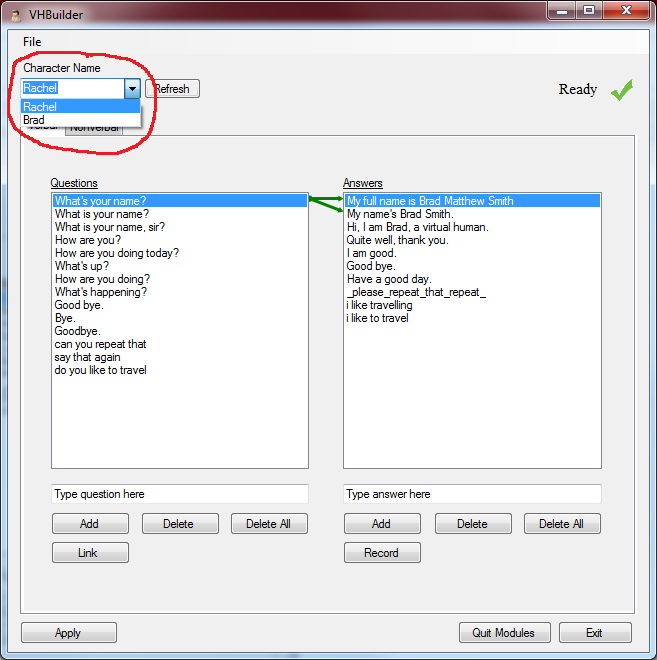
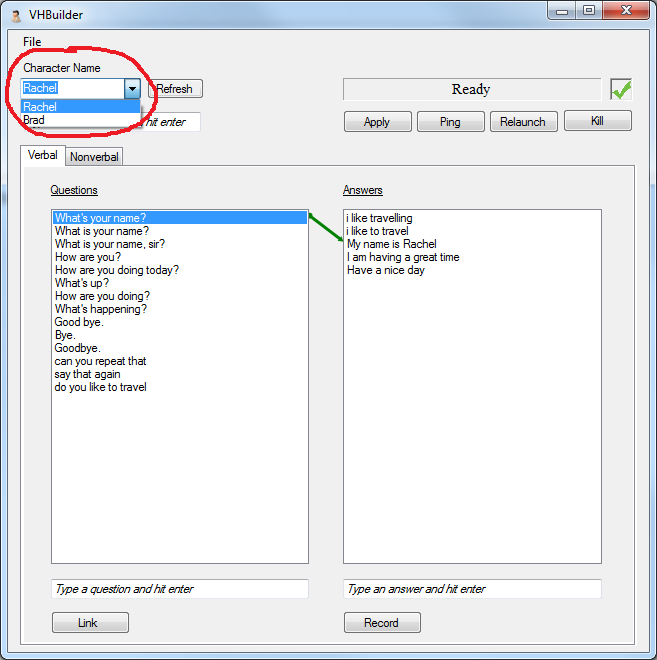
6) At this point, the scene has been loaded and you can begin interaction with the characters. Note that currently the tool does not load up the characters in Unity automatically (yet to be implemented). So you will have to open up an empty scene in the Unity editor (e.g. CampusEmpty) and drag the listed characters in the scene and hit play in Unity. The characters that are in the scene can be seen in the combo-box as shown below
7) Once Unity loads up with the characters, then you can begin interacting with the characters just as you always do. The characters will respond to the questions with the answers as they are linked.
Saving the scenario
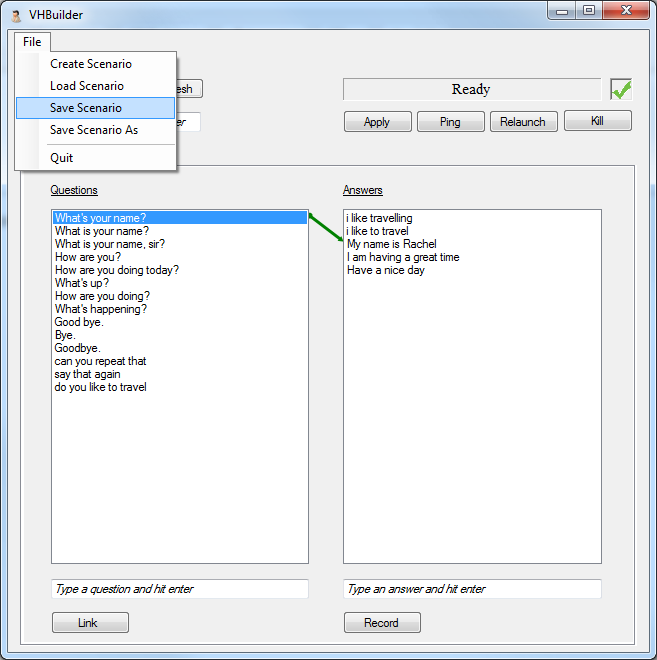
1) In order to save the scenario and all the changes made to it, select the File menu option and hit the 'Save Scenario' as shown below